
When you’re teaching online you need to keep things simple for your students, that’s why Zoom’s new whiteboard is a great addition to the online classroom. In this post let’s take a look how it works and six ways you can use it in your classroom.
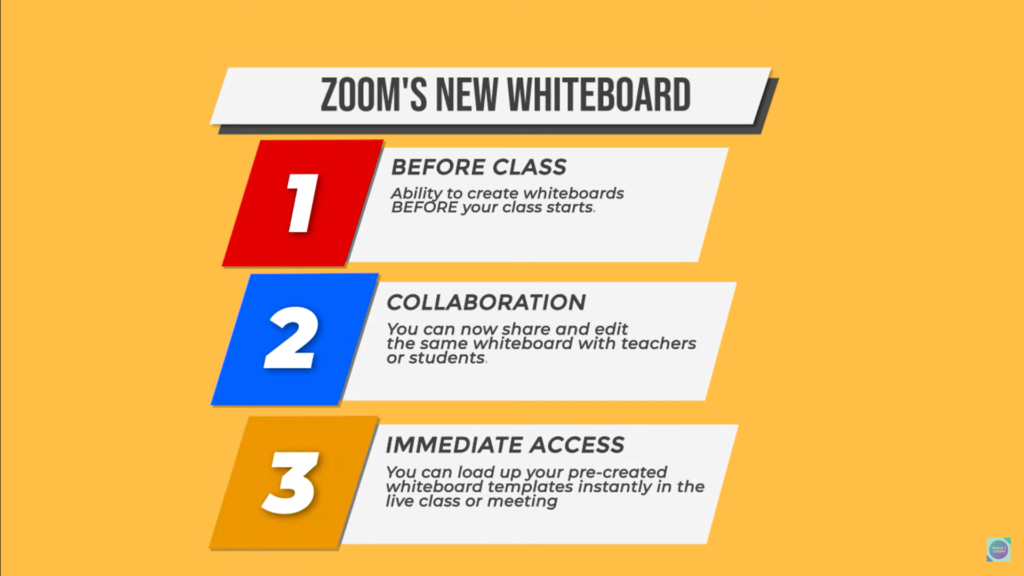
With Zoom’s new whiteboards you can create whiteboards pre-class, you can now collaborate on the same whiteboard with other teachers or students and you can access them immediately in class.
Getting set up with Zoom’s new whiteboard
If you already know how to use Zoom’s whiteboards then you can skip this next part and go straight to my ideas but for those that don’t here is a quick walkthrough on how to get set up with Zoom’s new whiteboard.
You can access Zoom’s new whiteboard by going to the website zoom and log in. On the left-hand side there should be a big purple sign saying ‘NEW’ next to whiteboards. On the Zoom program by just opening the program by signing in and you can see it in the top menu.
This whiteboard has all the typical features that you would expect with a whiteboard you can;
- create text
- create lines
- create shapes
- create sticky notes
Some important things to consider
One thing to note right now is that the options available to you when you’re creating a whiteboard pre-class are not the same as the whiteboard that’s available to you in class.
There are currently two whiteboards both under the same name. If you go to screen share you can then also open a whiteboard but this is not the same as Zoom’s new whiteboard. Zoom’s original whiteboard does not have the features that are available on Zoom’s new whiteboard. Zoom’s original whiteboard via screen share will not enable you to see the student’s cameras on the right hand side. Zoom’s new whiteboard feature allows the attendees to maintain their videos on the right-hand side.
When you create a whiteboard pre-class and load it up, in class some of the elements may not be exactly as you found them. I found that the text has the biggest problems. Some of the text boxes that you create may not be exactly in the same position as you left them.
Before you start editing a new zoom whiteboarding a live class it will give you some options on whether you want the participants to either view or edit this whiteboard and if the attendees can access this whiteboard after the meeting or the class
Idea no.1 – Class menu
The first way I’ve been using Zoom’s new whiteboard is to help me set up the beginning of every class. I always set up the whiteboard in the same way. On the right-hand side I have a space for emergent vocabulary. On the left-hand side I’ve got the class menu which is basically the objectives for the class. I’ve got the date and the class topic at the top. I can load this up for the beginning of every class and it saves me a lot of time.
Idea no.2 – Stop the bus!
The second way I’ve been using Zoom’s new whiteboard feature is to set up templates with typical games that I usually play with my students. One of my favourite games that I play with my students is ‘Stop the Bus’. The way it works is that you have five categories and the students have to name one thing in each category that begins with the same letter. I’ve created a template which means I can load it up instantly in class and get playing.
Idea no.3 – Review time
The third way I’ve been using it is to load up the previous classes whiteboard for the students to look at. At the beginning of the next class this is a very good way to review what we’ve done in the previous class. I’ll load up the old whiteboard from the previous class and test my student’s memory on what we studied in a previous class. Zoom’s new feature allows you to collaborate or share whiteboards with other people so this could be with either teachers or students.
Idea no.4 – Reading or listening activities
The fourth way I’ve been using this is to set homework for my students. I might create a whiteboard with a set of comprehension questions for a reading text or a listening that I’ve set them and then they have to complete that whiteboard with their answers. You can make individual whiteboards for each student or if you’d like them to work together on something you can share the same whiteboard with a group of students. Always remember to let them edit it, not just view.
Idea no.5 – Absent students
I often get absent students so this new feature where I can share the whiteboard is really useful. This is my fifth idea. What I do is I save the whiteboards and I’ll share them with that student who was absent. I can either do this by email or if we’re using an LMS like Google Classroom. I can export the whiteboard and upload it to the LMS that you’re using and share it directly with the student. This way the student doesn’t fall behind.
If you use Canva, then why not check out their new whiteboard?
Idea no.5 – Student presentation
Idea number six is to get students to a present language area to the class. I often do this with phrasal verbs, especially in a face-to-face classroom. I assign a phrasal verb to a student from a particular topic. In the next class, that student explains how that phrasal verb works. They should talk about;
Is it inseparable or separable?
What is the meaning of that phrasal verb?
Can you give me an example sentence?
I created a template for this whiteboard and you can find it below.
If you want to learn how to set homework online for your students in way that saves you loads of time, check out my post on 6 ways to set homework online here.
Thank you for reading and I hope you can use some of these ideas in your classroom using Zoom’s new whiteboard feature.